I found this beauty on Pinterest a couple months ago and fell in love. So when Husband and I talked about handmade for Christmas,
I knew he would be receiving this sweet declaration.
I toyed around with some other sayings, like Katy Perry's "You're an Indian summer in the middle of winter"-- because he is, and the simple phrase, "I love our life," but this quote was too perfect, I didn't want anything else.
And of course, me and salvaged wood go together.
So I got to work.

To make my version, here's what you'll need:
- One wood pallet or other pieces of wood in the same size. I knew I wanted a rustic, weathered look to my wood, so a pallet was perfect for my desired look. Pallets can be found at many different stores for free. Husband's made friends with the folks down at the feed store and picks the pallets up for extra-easy firewood for his shop. Length is up to you and dependant on the quote or words you choose.
- A sawzall if you are planning to use a pallet. A sawzall can saw-it-all. It's what I've learned from being married to a contractor. You'll need it to cut the wood from the nails. Ask your handy friend with the tools to hook you up. It was the quickest way to get the wood that I wanted. Otherwise you can use other pieces of wood, salvaged or not.
- A font. I chose this free font.
- Cardstock
- Xacto knife/cutting pad
- Paint/paint brush
- Metal brackets for assembling individual pieces of wood together. I bought my brackets over six months ago, and I bought two packages and I think I paid around $3.50 for each.
Now for the craft:
Print out your font onto cardstock. Make sure your letters are the appropriate size to fit your boards the way that you want.
Cutting the letters was by far the most time consuming part of this project,
but it's worth it!
I found it easiest to print as many of the letters in their words on one page so I could cut as much of the whole word and place it on the wood as one piece.
Once I had the cutting complete, I looked over my wood and decided how I wanted my quote to be arranged.
Do you want it to be blocked, centered, in less rows, more rows, etc.
Then you tape in place.
Make sure it's pretty secure. You don't want your paint to seep up underneath the cardstock and make a mess.
Then get painting! I used a small sponge brush and it worked great.
After a couple letters, I found that as much as I wanted the letters to have their outline,
I didn't want them to be perfect, so I made a pretty quick go of it.
Then I had myself the makings of a salvaged wood quote plaque.
Our same handy friend, took care of screwing on the brackets for me.
And this is what I got:
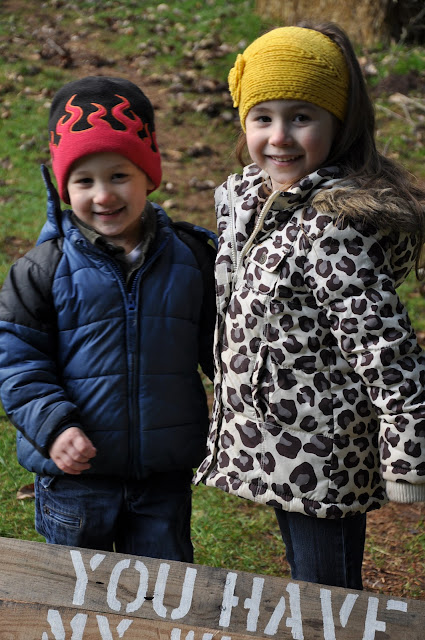
These kids are hysterical, I tell you.
One minute in and mainly spent trying to get each of them to hold the board with two hands, Asher said to heck with it and went to find his tractor.
But this one is perfectly fine with a solo photo shoot, even if the subject of the shoot is half on the ground.
But then Asher came back feeling refueled and happy to liiiiiift that board up with his superhero powers, costume or not.
It was certainly a struggle.
So to the ground the plaque went, and I encouraged some sweet sibling love, because they're still young enough to do these things on command. I don't imagine they'll still be up for these things in five or ten years, so I must give these directions, now.
Inspiration again:
End result:
One handmade gift that Husband loved,
a lovely new piece of wall art,
a prop for some cute photos of my kids,
and it was easy and free!


